 By Editorial Team
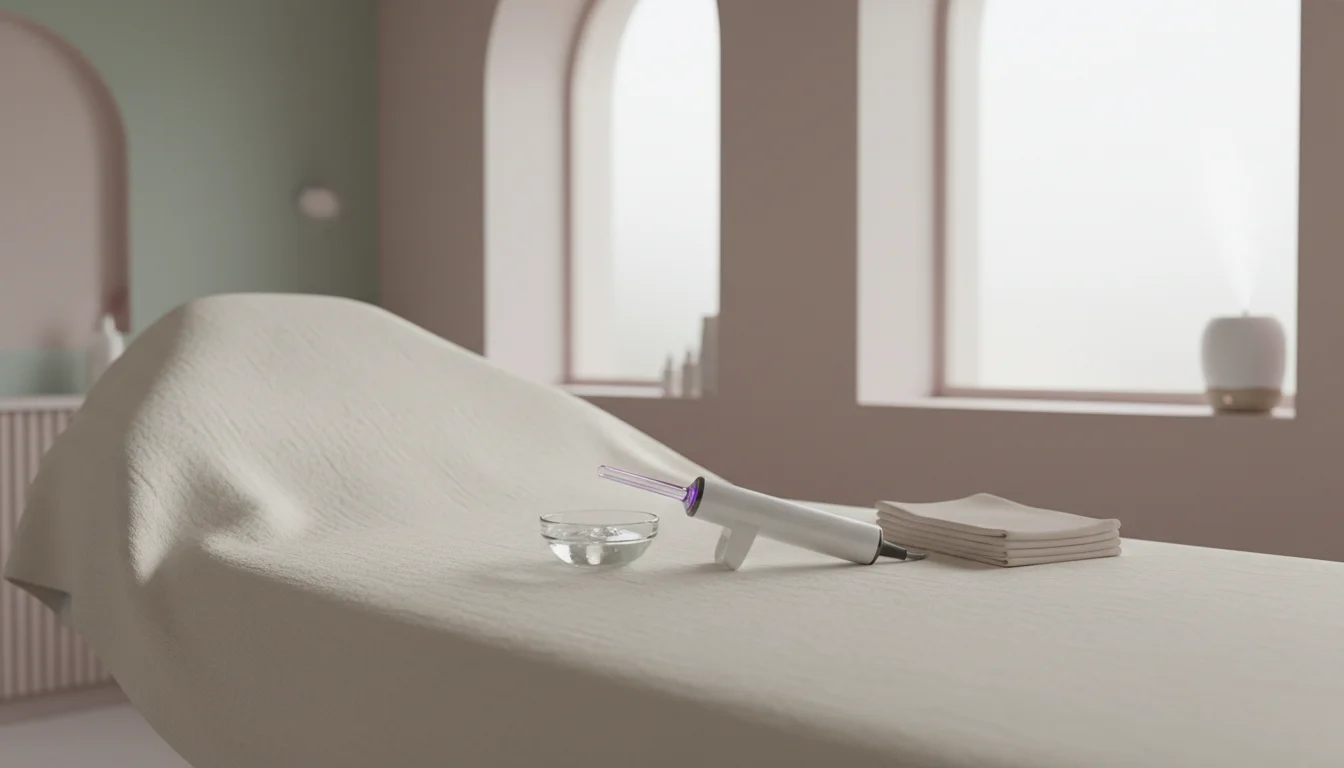
After a wax, your skin is often angry, red, sensitive, and primed for breakouts. Everyone wants to heal faster and keep that just-waxed smoothness, which is why people are starting to talk about using high-frequency wands, normally a facial tool, as a high frequency post-wax healing tool. The question is, can this gadget actually stop those bumps and calm everything down?
Key Takeaways
- Before you start, wash the area with a gentle, non-comedogenic cleanser to stop the wand from pushing bacteria deep into your pores.
- Pick the right tool for the job: use a mushroom or spoon electrode for big areas like your legs or back, and switch to the point electrode for smaller, trickier zones.
- Always start on the lowest power setting, turning it up slowly only if it feels comfortable, and never treat any single spot for more than 3 to 5 minutes.
- Keep a thin layer of gauze or a specific high-frequency serum between the glass wand and your skin, which ensures the current spreads evenly and prevents irritation from direct contact.
- As soon as you’re done, apply a calming, alcohol-free toner followed by a non-comedogenic moisturizer to lock in hydration and bring down any lingering inflammation.
1. Prepare the Skin and Device for Optimal Safety
Good prep is everything, especially when you’re about to put an electrical current on skin that’s already stressed out from waxing. My non-negotiable first step is making sure both the skin and the device are spotlessly clean. Start by washing the waxed area with a mild, pH-balanced cleanser that won’t clog pores. Leftover wax, oils, or any microscopic gunk can interfere with the treatment, but more importantly, the current can drive that debris deeper into your open follicles, which is a recipe for irritation. I see people rush this step all the time, and their results really suffer for it.
Once you’ve cleansed, pat the skin totally dry with a clean towel because any moisture left behind can create a weird, uncomfortable zap or just mess with the electrical current. Next, grab your high-frequency electrode and sterilize it. For post-waxing, the mushroom electrode is a great workhorse for large zones like the legs, while the spoon or point electrode gives you better control on smaller areas like a bikini line. Just wipe the glass down with an alcohol pad (a standard 70% isopropyl alcohol solution is perfect) and let it air dry completely. This kills bacteria and makes sure the current flows properly. This whole process creates a sterile environment that lets your skin heal properly.
Pro Tip: For anyone with really sensitive skin, try laying a thin layer of sterile gauze over the waxed area before you start. It creates a small buffer between the glass and your skin, which diffuses the current just enough to make it more comfortable without really impacting the results. I find this technique especially helpful for areas that get super red or are prone to ingrowns.
2. Select the Correct Electrode and Intensity Setting
Whether this treatment actually works for you really comes down to using the right electrode and the right power setting. High-frequency wands come with a few different glass attachments for a reason. The mushroom electrode is the one you’ll use most for broad, flat areas, since its wide surface is perfect for covering a freshly waxed back, chest, or legs. For more delicate or contoured spots, like the bikini line, underarms, or even the upper lip, the spoon electrode or the small point electrode gives you much more precision. The entire point is to distribute the energy evenly and not overdo it on any single spot.
After you’ve picked your electrode and snapped it into the wand, it’s time to think about intensity. This is where so many people go wrong. You have to start at the absolute lowest setting. Turn the device on, and touch a finger to the electrode to feel the current, it should just be a slight tingle. When you put it on your skin, you’re aiming for a gentle warmth and a very mild buzzing feeling. It should never be painful or feel like it’s burning. You can slowly turn the dial up in tiny increments, maybe testing on your forearm first if you’re nervous, until you find a level that feels active but still comfortable. For post-wax healing, a low-to-medium intensity is all you need. Pushing it too far will just cause more irritation and completely defeat the purpose.
Common Mistakes: The biggest error is cranking the intensity up too high right away. This can easily shock the skin, making it red and uncomfortable, and can actually worsen the irritation you’re trying to fix. Another frequent mistake is just grabbing the wrong electrode for the area you’re working on, which leads to patchy treatment or makes it impossible to navigate around sensitive curves. Focus on comfort and even coverage above all else.
Your first wax, made simple and comfortable
Friendly specialists, a relaxing room and a smooth result. Find a welcoming studio near you.
Find a Studio Near You →3. Apply the Electrode with Proper Technique and Duration
With your skin clean and the device set up, the actual application is what matters most. This is a situation where precision and controlled movements are far more effective than just going hard. Before the electrode even touches your skin, you can lay down that thin layer of sterile gauze I mentioned or use a specialized high-frequency conductive serum. This buffer helps the current flow more evenly and keeps the glass from sticking or dragging on your skin, which feels terrible after a wax. If you’re using gauze, just gently lay it over the treatment area.
Now, bring the electrode near your skin and then make contact. You’ll hear a quiet buzzing and see a soft orange or violet glow inside the glass (the color depends on the gas, which is usually neon or argon). You need to keep the electrode moving the whole time in small, slow circles or gentle back-and-forth strokes. Don’t let it just sit in one place for more than a second, because that concentrates the current and can burn or irritate the skin. If you’re doing a large area like a leg, just work in smaller sections to make sure you cover it all.
For duration, less is more, particularly on skin that’s already been through a wax. Stick to about 3 to 5 minutes for each area. So, if you’re doing both lower legs, that’s 3-5 minutes on the right leg and 3-5 minutes on the left. A bikini line might only need 2-3 minutes. You’re just trying to boost circulation, kill some bacteria, and kickstart the healing process without over-stimulating everything. A 2022 study in the Journal of Clinical and Aesthetic Dermatology even confirmed the antibacterial power of high-frequency currents, which directly supports using them to prevent infections after a procedure like waxing.
Pro Tip: To avoid a little static shock when you lift the wand off, just place your finger on the glass part of the electrode before you pull away from the skin. This grounds the current and makes for a much smoother dismount. You can do the same thing when you start: touch the electrode to your skin before you lift your finger off to begin.
4. Post-Treatment Care and Soothing Protocols
The job isn’t finished when you turn the wand off. The next few steps are what really lock in the benefits and make sure your skin calms down properly. Right after the treatment, your skin is extra receptive to products because of the increased blood flow, so what you put on it really matters. So, what should you grab?
Start with a calming toner that has zero alcohol. I look for things with witch hazel (the alcohol-free version), chamomile, or aloe vera, which are all great for reducing inflammation. Gently apply it with a cotton pad or just pat it onto the skin. This helps rebalance your skin’s pH and cleans up anything left behind. After that, follow up with a generous layer of a non-comedogenic moisturizer. Ingredients like hyaluronic acid and ceramides are fantastic for putting moisture back and rebuilding the skin’s protective barrier. Stay away from heavy oils or thick creams that could easily clog your pores right now.
If you’re someone who gets a lot of ingrown hairs, you can use a gentle serum with a low concentration of salicylic or glycolic acid, but wait 12-24 hours after the high-frequency treatment to apply it. Give your skin a chance to calm down first. The high-frequency itself helps oxygenate the skin, which is great for preventing ingrowns, but a targeted serum can add another layer of defense. I’ve found that a simple, consistent aftercare routine is what truly prevents post-wax breakouts and keeps skin looking good.
Common Mistakes: The most common error is slathering on harsh, perfumed, or alcohol-based products right after the treatment. This will strip your skin, cause irritation, and completely undo all the soothing work you just did. Another mistake is skipping moisturizer entirely, which leaves your skin dry and vulnerable. Hydration is everything for healthy skin recovery.
5. Maintenance and Long-Term Skin Health
Using a high-frequency wand is a great immediate fix after waxing, but it’s just one tool for maintaining healthy skin over the long haul. A consistent, smart routine is what really works. You might use the wand as a spot treatment on problem areas, maybe once a week between waxes, to keep breakouts or ingrowns at bay. Daily use is overkill and will likely just lead to dryness or sensitivity, so moderation is your friend here.
Beyond the wand, think about your daily habits. Gently exfoliating 2-3 times a week (with a chemical exfoliant like an AHA/BHA or a very soft physical scrub) is essential for preventing the dead skin buildup that traps hairs and causes ingrowns. Always moisturize well after you exfoliate. Sun protection is also absolutely mandatory. UV exposure will make any post-inflammatory hyperpigmentation, the red or dark marks left by waxing or breakouts, much more noticeable and permanent. You need to be applying a broad-spectrum SPF 30 or higher every day, even when it’s cloudy.
Finally, pay attention to your skin. Maybe keep a quick note on your phone. Does a certain type of wax always make you break out? Does one electrode feel better on your skin than another? This kind of personal feedback lets you tweak your routine until it’s perfect for you. A 2024 review in the Journal of the American Academy of Dermatology really drove this home, noting that consistent, gentle care tailored specifically to an individual’s skin type delivers the best results over time.
The high-frequency wand can be a fantastic addition to your post-wax kit, calming skin and stopping breakouts when you use it the right way. By following these steps, from prep to aftercare, you can make your post-wax experience a lot better and get smoother, healthier skin.
How soon after waxing can I use a high-frequency wand?
You can use it right away, once the skin is clean, dry, and any major redness has started to fade. Many professionals include it in their post-wax service to immediately get those soothing and antibacterial benefits working.
What is the difference between neon and argon high-frequency electrodes?
Neon electrodes glow orange or red and are generally used for anti-aging and improving overall skin tone. Argon electrodes glow violet or blue and are prized for their antibacterial effects, which makes them the better choice for acne-prone skin and preventing post-wax breakouts.
Can I use a high-frequency wand on all body parts after waxing?
Yes, you can use it on most waxed body parts, including your legs, arms, underarms, back, and the bikini area. Just remember to adjust the intensity for more sensitive zones and use the right size electrode to fit the contours of the area.
How often should I use the high-frequency wand post-wax?
One session right after waxing is usually all you need for the immediate healing benefits. For ongoing maintenance to prevent ingrowns or breakouts, you could use it once or twice a week on problem spots, but don’t use it every day.
Are there any contraindications for using a high-frequency wand?
Yes, there are. You should not use a high-frequency wand if you are pregnant, have a pacemaker, epilepsy, heart conditions, or have any metal plates or pins in the treatment area. Also avoid using it over open wounds or sores. When in doubt, talk to your doctor or a dermatologist.


