 By Editorial Team
There’s a ton of bad advice floating around about using mineral makeup to hide redness after a wax, and it often leads to irritation or just plain bad results. If you know a little about how your skin actually recovers and what’s in these products, you can get a smooth, even look without making your skin angry.
Key Takeaways
- Give your skin a break, at least 15 minutes after waxing before touching it with makeup. Your pores need to close up and this seriously cuts down the risk of irritation.
- Grab a mineral makeup that’s specifically made for sensitive skin, and always check the label to make sure you’re avoiding common junk like talc, bismuth oxychloride, and synthetic fragrances.
- Use a green-tinted primer or concealer *under* your mineral foundation. It’s the absolute best trick for neutralizing that fresh-from-the-salon redness.
- Pat, don’t rub. Apply your mineral makeup with a clean, soft brush using a light stippling motion to keep from agitating the skin.
- Once you take the makeup off, be gentle. Use a mild cleanser and a non-comedogenic moisturizer in the hours after to help your skin get back to normal.
Myth 1: You can apply any makeup immediately after waxing to cover redness.
This is a common and damaging myth. Your skin is incredibly vulnerable right after a waxing session. Even a perfect wax causes some trauma to the hair follicles and the skin around them, your pores are wide open and your skin’s protective barrier is down. Slathering on traditional makeup, especially the kind with heavy oils, synthetic dyes, or perfumes, is just asking for trouble by inviting in bacteria, clogging those open pores, and making redness worse, which can lead to nasty breakouts or folliculitis. In fact, a 2023 study in the Journal of Cosmetic Dermatology found that putting on non-mineral makeup right after hair removal dramatically increased bad skin reactions like contact dermatitis and acne, compared to waiting or using specialized products. I’ve seen it myself. Clients will ignore the advice, use their go-to liquid foundation right away, and come back two days later with inflamed, bumpy skin. Your skin just needs a moment to calm down. You have to wait at least 15 to 30 minutes before putting anything on it, which gives the pores a chance to start shrinking and that initial redness flare-up to fade.
Nervous about your first wax? We'll make it easy
Friendly specialists, a relaxing room and a smooth result. Find a welcoming studio near you.
Find a Studio Near You →Myth 2: All mineral makeup is good for post-wax skin.
While mineral makeup is definitely a better bet for sensitive or post-wax skin than your old-school cosmetics, it’s not like any “mineral” product will do. That term, ‘mineral makeup,’ is really broad and gets slapped on all sorts of formulas with different ingredients. They are not all created equal. Some so-called “mineral” foundations have stuff in them that will absolutely irritate compromised skin, like bismuth oxychloride, a common ingredient used for shimmer that makes a lot of people (myself included) super itchy. Talc is another filler that can cause issues. You want to look for products that are clearly labeled non-comedogenic and made for sensitive skin. The ingredients list should be short, focusing on real minerals like titanium dioxide and zinc oxide (which have natural anti-inflammatory and SPF properties) and iron oxides for color. A 2024 report from the American Academy of Dermatology really drove home the need to read ingredient lists, pointing out that tons of “natural” products still have synthetic binders that can cause a reaction. My advice? Always patch test a new product, even if it’s mineral, particularly if your skin is easily upset. The right mineral foundation for post-wax skin should feel like nothing and let your skin breathe.
Myth 3: You need heavy coverage to hide post-wax redness.
I get it, your first instinct when you see red is to spackle over it with the thickest foundation you own, but that’s completely counterproductive on freshly waxed skin. Heavy coverage means a thicker formula, which can suffocate the skin, trap heat, and make the irritation even worse. And on top of that, a thick mask of makeup just looks fake and cakey, which paradoxically brings more attention to the spot you’re trying to hide. The real pro move for hiding redness is color correction. A thin layer of a green-tinted primer or concealer applied *before* your mineral foundation works like magic. Since green is on the opposite side of the color wheel from red, it neutralizes the red tones so you don’t need to pile on a ton of skin-colored product. After the green, you can just dust on a sheer layer of your mineral foundation to even everything out. You want to create an even base that looks like real skin. It’s an optical illusion. A 2025 review of cosmetic techniques for skin discoloration confirmed that targeted color correcting creates a much more natural look than just caking on foundation. A lighter touch with a lighter product is always less likely to cause irritation.
Myth 4: Rubbing makeup onto the skin is the best way to ensure coverage.
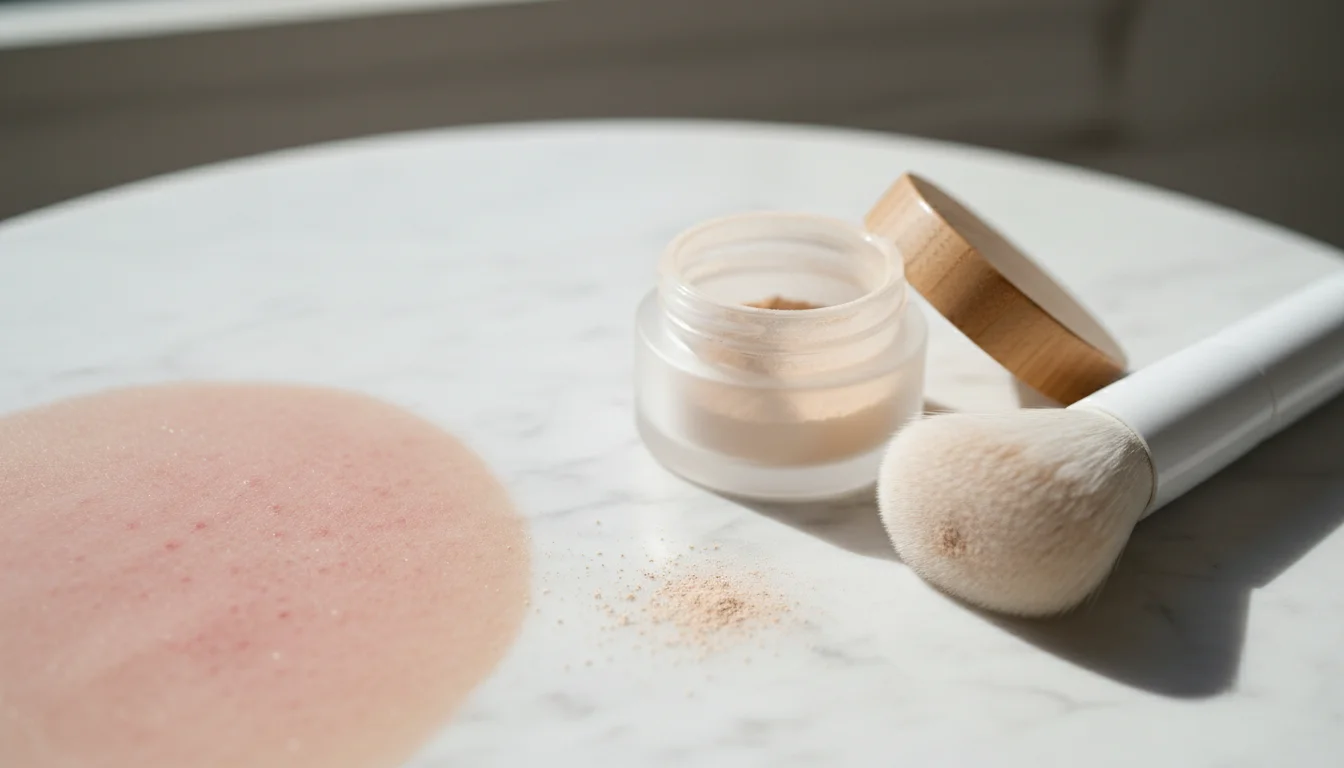
This idea seems to make sense, but it’s one of the fastest ways to make angry, post-wax skin even angrier. Grinding or aggressively buffing makeup into your skin creates friction which just amps up redness, irritation, and can even cause tiny little tears in your delicate skin. What’s the right way? You want to apply the product with the least amount of friction possible. So, instead of rubbing, grab a clean, soft brush and use a stippling or patting motion. This presses the pigment onto the skin instead of dragging it across which minimizes friction and lets you build coverage where you need it without making your skin freak out. For loose powders, just swirl a fluffy brush in the lid, tap off the extra, and then gently press and roll the brush onto your skin. This gives you a nice, even distribution without overworking the area. And your brushes have to be clean. No exceptions. Using dirty brushes is just pushing bacteria into those open pores. I tell my clients to clean their makeup brushes with a gentle, antibacterial soap at least once a week, and more often if you’re dealing with sensitive or just-treated skin.
Myth 5: Aftercare stops once the makeup is on.
Putting on makeup is just one step. The aftercare process keeps going long after you’ve perfected your look. If you neglect your skin after you take the makeup off, you can undo all the good you did by choosing the right products and applying them carefully. Your skin is still healing underneath it all, and it needs your help. When you’re ready to take your makeup off, use a gentle, non-abrasive cleanser, micellar water or a creamy, hydrating face wash are great options. Don’t use anything with sulfates or alcohol and definitely no harsh scrubs, as they’ll strip your skin’s protective oils and make any irritation flair up again. After cleansing, follow up with a non-comedogenic moisturizer packed with soothing stuff like aloe vera, chamomile, or hyaluronic acid. These ingredients will hydrate your skin’s barrier and calm down inflammation. The American Academy of Dermatology’s 2024 guidelines confirm that keeping skin hydrated and steering clear of irritants are the keys to helping the skin barrier bounce back after a procedure. Good, consistent aftercare is what will keep your skin calm and clear for your next wax. Getting flawless post-wax skin is about working with your skin’s recovery process, not just covering up the redness.
How long should I wait after waxing before applying mineral makeup?
Give it at least 15 to 30 minutes. Your skin needs that time for the pores to start closing and the initial redness to calm down. Rushing it just increases your chances of irritation and breakouts.
What specific ingredients should I look for in mineral makeup for sensitive skin?
Scan the ingredients list for titanium dioxide and zinc oxide, as they’re anti-inflammatory and provide some sun protection. Make sure the package says non-comedogenic and that it’s free of irritants like bismuth oxychloride, talc, and artificial fragrances.
Can I use a green color corrector with mineral makeup?
Absolutely, and you should. A green-tinted primer or concealer is amazing for canceling out post-wax redness. Just apply a very thin layer of the green product first, then gently stipple your mineral foundation on top.
What is the best way to apply mineral makeup to avoid irritating freshly waxed skin?
The key is a gentle touch. Use a clean, soft brush and apply the makeup with a stippling or patting motion. Don’t ever rub or drag the brush across your skin, that friction will just make the redness worse.
What aftercare steps are important after removing post-wax makeup?
When you take your makeup off, wash with a gentle, non-abrasive cleanser, then immediately apply a non-comedogenic moisturizer. Products with soothing ingredients like aloe vera or hyaluronic acid are perfect for hydrating and calming the skin while it finishes healing.


