 By Jessica Garcia
After a professional hair removal session, your skin often feels sensitive and might show some redness. This is completely normal! One of the most effective and simplest ways to provide immediate relief and reduce irritation is by applying a cold compress post-wax. This instant soothing trick isn’t just an old wives’ tale; it’s backed by dermatology principles. But how exactly do you prepare and apply one for maximum benefit?
Key Takeaways
- Always use a clean, soft cloth and cold, not freezing, water for your compress to prevent further irritation or ice burn.
- Apply the cold compress for 5 to 10 minutes immediately after waxing, repeating every few hours as needed during the first 24 hours.
- Elevate the treated area if possible while applying the compress to help reduce swelling.
- Avoid direct ice application or using compresses with harsh chemicals or fragrances.
- Follow up cold compress use with a gentle, fragrance-free moisturizer to lock in hydration and support skin barrier recovery.
Step 1: Gather Your Tools for the Perfect Cold Compress
Before you even think about applying anything to your freshly waxed skin, you need to assemble the right components. This isn’t a situation where any old rag will do. I’ve seen clients try to use paper towels or even their bath towels fresh out of the hamper, and that’s just asking for trouble. You need cleanliness and softness above all else.
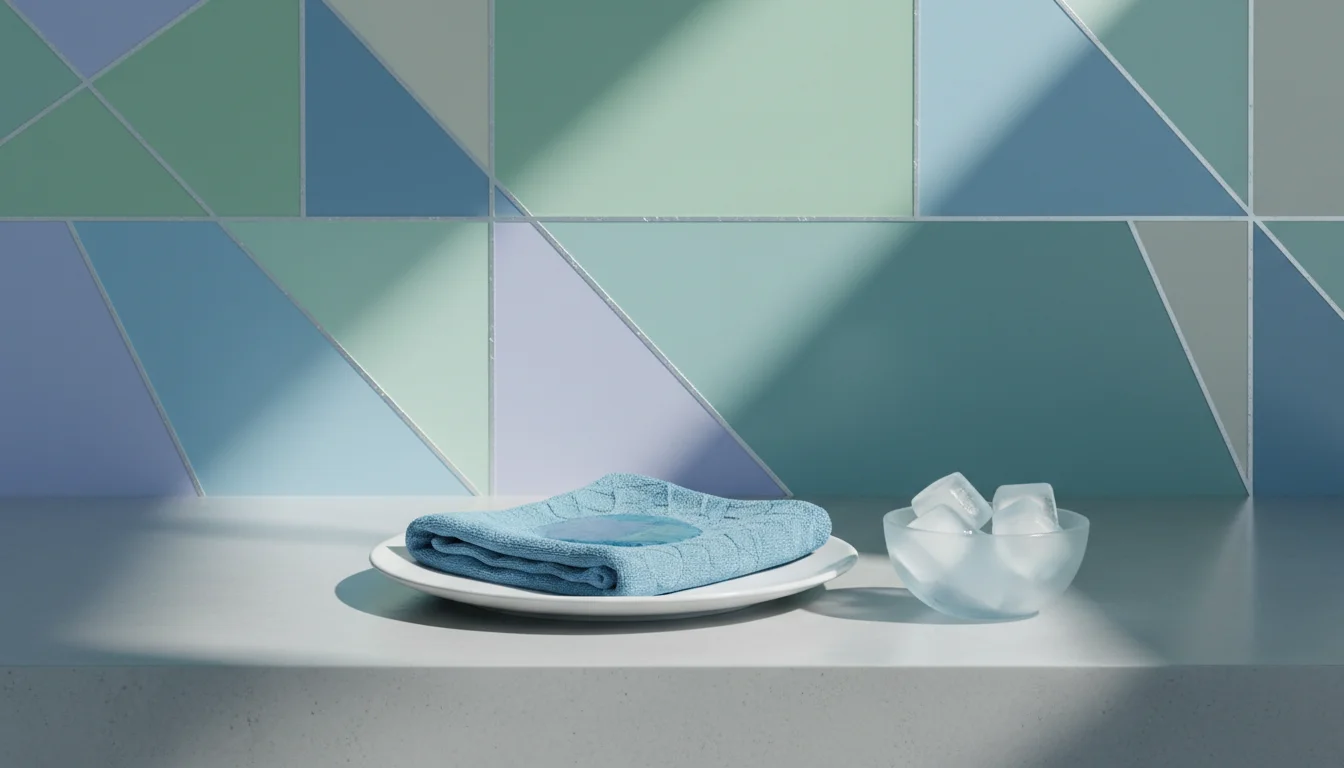
You’ll need a soft, clean cloth. Microfiber cloths are excellent because they are gentle and highly absorbent. A clean washcloth made of 100% cotton works well too. Ensure it’s been freshly laundered with a fragrance-free detergent to avoid introducing any irritants to your vulnerable skin. For the cold element, you’ll need cold water. Tap water is usually sufficient, but if you have access to filtered cold water, even better. Some people prefer to use a small bowl of water with a few ice cubes, but the key is cold, not freezing. Direct ice on skin is a big no-no; it can cause ice burn and further damage the delicate post-wax epidermis. Finally, a small, clean bowl to hold the water is helpful.
Pro Tip: Optimize Your Cloth Choice
I always advise my clients to invest in a few high-quality, ultra-soft microfiber cloths specifically for post-wax care. They’re incredibly gentle and can be easily sterilized. You can find excellent options at most drugstores or online retailers. Make sure they are pure microfiber, not blends that might contain harsher synthetic fibers.
Step 2: Prepare Your Cold Compress Mixture
Now that you have your tools, let’s get the compress ready. Fill your clean bowl with cold water. If you’re using ice cubes, add just enough to chill the water, then remove them before soaking the cloth. We’re aiming for a refreshing coolness, not an arctic blast. The ideal temperature for the water is usually between 40 to 50 degrees Fahrenheit (4 to 10 degrees Celsius). Anything colder can constrict blood vessels too much, potentially impeding the natural healing process, and anything warmer won’t provide the desired soothing effect.
Submerge your clean cloth into the cold water. Let it soak for about 30 seconds to ensure it’s thoroughly saturated and chilled. Once soaked, gently wring out the excess water. You want the cloth to be damp, not dripping. A dripping cloth will just make a mess and won’t adhere as well to the skin, reducing its effectiveness. Think of it like a perfectly wrung-out sponge.
Common Mistakes: Over-Chilling
A common mistake I’ve observed is people using water that’s too cold or even applying ice directly. This can actually cause more harm than good. Direct ice application can lead to frostnip or ice burns, exacerbating skin sensitivity. Stick to cold water; your skin will thank you.
Step 3: Apply the Compress to the Treated Area
With your perfectly prepared cold compress in hand, it’s time for application. Gently place the damp, cold cloth directly onto the freshly waxed area. The sensation should be immediately soothing and refreshing. Don’t press too hard; a light, even pressure is sufficient. Hold it in place for 5 to 10 minutes. During this time, the cold will help to constrict blood vessels, reducing redness and inflammation. It also numbs the nerve endings slightly, providing a welcome reprieve from any stinging or tenderness.
Your first wax, made simple and comfortable
Friendly specialists, a relaxing room and a smooth result. Find a welcoming studio near you.
Find a Studio Near You →If you’ve waxed a larger area, like your legs or back, you might need to prepare multiple compresses or re-soak and reapply the same one as it warms up. The goal is consistent, gentle cooling. For smaller, more sensitive areas, like the bikini line or underarms, a smaller cloth might be more manageable. I often tell my clients to lie down and relax during this step; it’s a great opportunity for a mini self-care moment.
According to a review published in the Journal of Clinical and Aesthetic Dermatology, cold therapy (cryotherapy) is a recognized method for reducing inflammation and pain in various dermatological procedures. This principle applies directly to post-wax care, helping to calm the skin and prevent excessive irritation.
Pro Tip: Elevate for Enhanced Relief
If you’ve waxed your legs or arms, try elevating the treated limb while applying the compress. This can further aid in reducing swelling by promoting fluid drainage. For example, if you’ve waxed your lower legs, lie on your back and prop your feet up on a pillow while you apply the compress. This simple trick adds another layer of relief.
Step 4: Repeat as Needed and Follow Up with Aftercare
The initial application of the cold compress is crucial, but the soothing doesn’t necessarily stop there. You can repeat the cold compress application every few hours during the first 24 hours post-wax if you continue to experience redness or discomfort. However, avoid continuous application for extended periods, as this can over-cool the skin. Short, intermittent applications are far more beneficial.
After each compress session, or once you’re done with cold therapy for the day, it’s essential to follow up with appropriate aftercare. This typically involves applying a gentle, fragrance-free moisturizer. Look for ingredients like aloe vera, chamomile, or hyaluronic acid, which are known for their calming and hydrating properties. I cannot stress enough the importance of fragrance-free products during this sensitive period. Anything with added scents, even natural ones, can irritate compromised skin. One time, a client came in with a rash after using a heavily scented lotion post-wax, thinking “natural” meant “safe.” It was a valuable lesson for both of us that ingredients matter, especially for sensitive skin.
A study by the American Academy of Dermatology Association emphasizes that regular moisturizing helps maintain the skin’s barrier function, which is critical after any procedure that disrupts the skin’s surface, like waxing. This barrier is your first line of defense against environmental irritants and infections.
Common Mistakes: Neglecting Moisturizer
Many people focus solely on the immediate relief of the cold compress and forget the subsequent step of moisturizing. This is a significant oversight. The cold helps reduce inflammation, but a good moisturizer helps to restore the skin’s hydration and protective barrier, preventing dryness and potential ingrown hairs down the line. Think of it as a two-part healing process.
Step 5: Maintain Hygiene and Observe Your Skin
Maintaining impeccable hygiene is non-negotiable in the days following your wax. Your pores are open, and your skin is more susceptible to bacteria. Always wash your hands thoroughly before touching the waxed area. Avoid tight clothing that can rub against the skin and cause friction, which can lead to irritation or ingrown hairs. Opt for loose, breathable fabrics like cotton for at least 24 to 48 hours.
Continuously observe your skin for any unusual reactions. While some redness and tenderness are normal, excessive swelling, persistent pain, pus, or fever are not. These could be signs of infection and warrant immediate attention from a healthcare professional. I once had a client who developed a mild folliculitis (inflammation of the hair follicles) because she went straight from her wax appointment to a hot yoga class. The combination of sweat, friction, and heat was a recipe for disaster. We quickly got her on a regimen of cold compresses, gentle cleansing, and a topical antiseptic, but it underscored the importance of listening to your body and taking proper precautions.
For persistent irritation or concerns, don’t hesitate to consult a dermatologist. The DermNet NZ (a comprehensive dermatological resource) provides detailed information on post-wax complications like folliculitis and how to manage them effectively.
Implementing a cold compress post-wax is a simple yet powerful technique for immediate skin relief. By following these steps, you can significantly reduce discomfort and support your skin’s recovery process, ensuring a smoother, happier outcome.
How long should I leave a cold compress on after waxing?
You should apply the cold compress for 5 to 10 minutes immediately after your waxing session. You can repeat this every few hours for the first 24 hours if needed, ensuring to give your skin breaks between applications.
Can I use ice directly on my skin after waxing?
No, it is strongly advised not to apply ice directly to your skin after waxing. Direct ice can cause ice burn or frostnip, which can further damage sensitive, post-waxed skin. Always use a cloth dampened with cold water instead.
What kind of cloth is best for a cold compress?
A soft, clean cloth made of 100% cotton or a microfiber cloth is ideal. These materials are gentle on sensitive skin and effectively hold cold water without being too abrasive.
What if I don’t have a specific cold compress?
You don’t need a specialized cold compress kit. A clean, soft washcloth soaked in cold tap water and gently wrung out works perfectly. The key is to ensure the cloth is clean and the water is cold, not freezing.
When should I avoid using a cold compress?
While generally safe, avoid using a cold compress if your skin is already extremely cold to the touch, or if you have any circulatory issues that might be exacerbated by cold therapy. If you experience unusual pain or numbness, discontinue use.


